A video file can provide valuable supplemental information when recording vibration data in the field. The GoPro camera is a typical choice for field data recording because of its robustness and versatility.
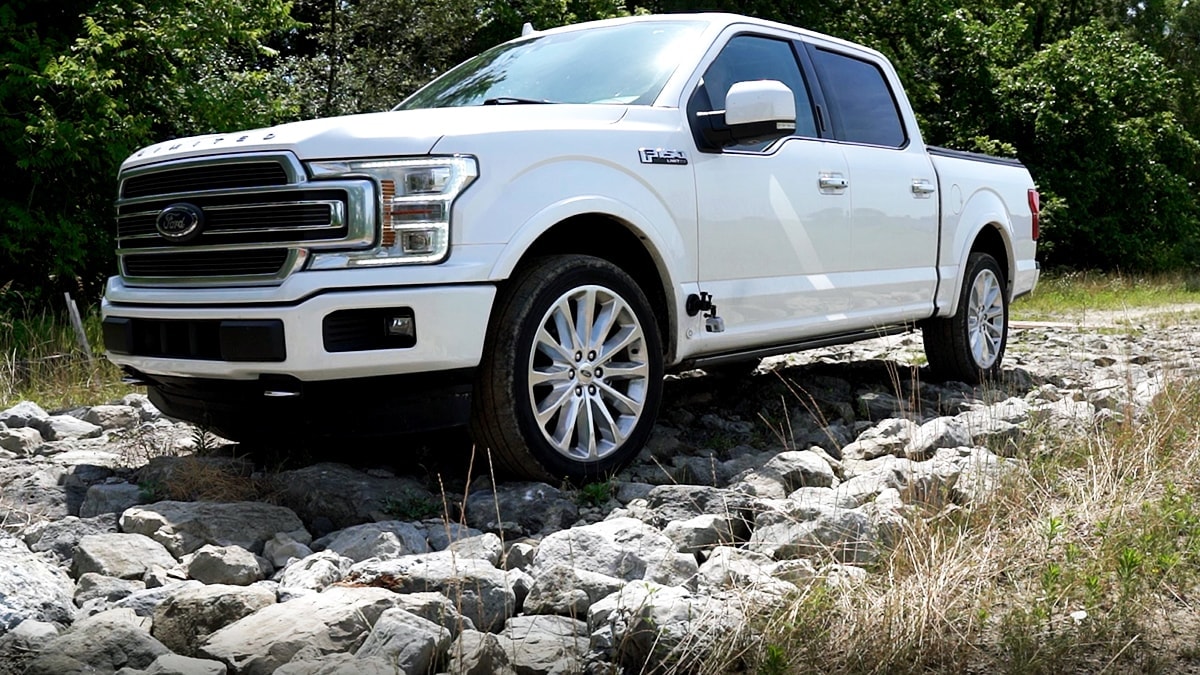
A GoPro camera mounted near the driver’s side front wheel.
After recording, engineers run the vibration data and video simultaneously for comparison. The Multimedia Sync feature in the ObserVIEW software opens a multimedia player and automatically plays any video files associated with the waveform recording.
Before recording, engineers must check that the equipment is in sync with the common time reference. Otherwise, the data will not align during playback. Multimedia Sync relies on accurate timestamps within video files to align media files to the start of waveform recordings.
The ObserVR1000 data acquisition system and VR Mobile application make it easy for engineers to align their equipment’s timestamps before recording. They can use this tip sheet as a reference while putting together their recording setup.
How to Record GoPro Video During Data Acquisition
- Sync the ObserVR1000
First, the ObserVR1000 I/O unit should be in sync with a common time reference. In VR Mobile, select Info > Time Settings and select the Sync Time button.
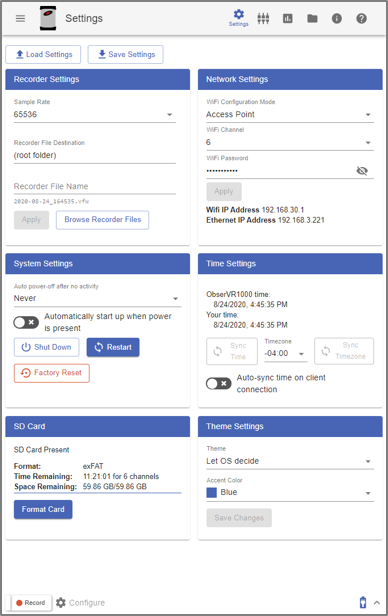
VR Mobile Settings with Time Settings to the center right.
- Configure GoPro Timestamps
Next, configure how the GoPro saves video timestamps. Multimedia Sync works best with video file timestamps in a UTC (Coordinated Universal Time) format. GoPro cameras save timestamps in local time rather than standard UTC. To adjust how the GoPro saves video files:
- Change the mobile device’s time zone to UTC+00:00
- In the GoPro app on the mobile phone/tablet, connect to the GoPro camera
- Navigate to the GoPro Settings and select Set Date and Time; the GoPro time is now synchronized with the phone/tablet
Time clocks on cameras often drift over time. Repeat this process before each recording session to ensure an accurate time.
- Start recording the video/audio; it is necessary to start the video/audio data before the waveform data
- Start recording the waveform data
When the recording process is complete:
- End the waveform recording first and then end the video/audio recording
- Transfer all the files to a PC for analysis with ObserVIEW
Vibration Research suggests saving all the raw video and waveform data from the recording to the PC. For example, engineers should take video files from a GoPro camera directly off the SD card to get both the SD and the HD video files. The SD(.lrv) files will not be available through the GoPro app or a USB file transfer.
Adjust the Start Times of Media Files
When an engineer opens Multimedia Sync, the software automatically adds any video file in the current directory with a time range that overlaps the waveform recording to the media view. These files’ start times typically have a time offset relative to the start of the waveform recording. Engineers can manually adjust this offset so the video display accurately matches the recording display.
The engineer can use the media offset control to make a time offset adjustment. They can adjust it in 50ms intervals using the +/- buttons or scrolling the mouse wheel over the control display.
For example, a VR team forgot to synchronize the GoPro and ObserVR1000 when recording helicopter data, so there was an offset in the camera video and waveform data. The group was able to address some of the recording errors in post-processing. The following is a comparison of the original data to the updates.
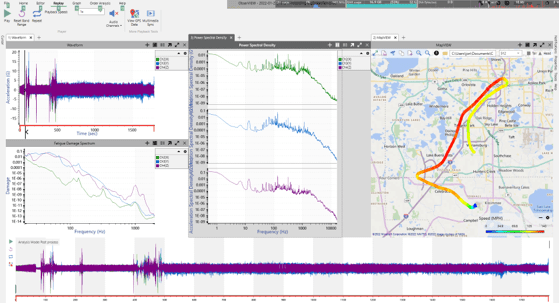
The original recording and supporting data with errors.
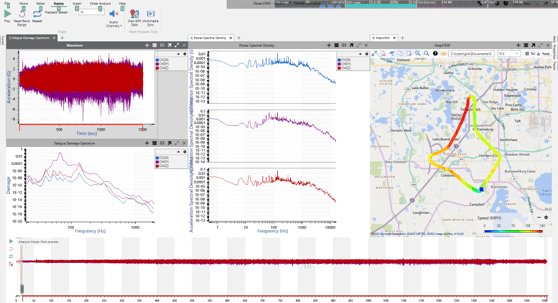
The updated recordings with edited waveforms and complete GPS data.