Abstract
The Quick Report template in the VibrationVIEW software can be modified to fulfill a test standard and increase test report efficiency. Users can generate custom reports associated with their vibration test profiles and compile all the necessary data with one click.
Note: This technical note applies to VibrationVIEW versions 2023 and older.
Question
A customer contacted Vibration Research for help:
“I am running the following classical shock test: 3+ and 3‐ pulses in the three orthogonal axes on 20 test samples. I need to generate a report for my customer with the run name highlighted, the accelerometer location for each of the 21 channels, the test schedule details, and the accelerometer calibration details. One graph must display all the channels. Then, I need a report for each channel with the same test details.
Currently, I am creating one graph at a time. I edit the graph annotation to show the channel description, then use the standard Quick Report and select Active Graph, Test Schedule, and Accelerometer Details. I have to edit the .rtf document to remove the channels I don’t need and manually highlight the run name at the top. This process is going to take me days! How can I make it easier/faster?”
Answer
When the user selects the Quick Report command, the software automatically generates a report using the current test data and the associated template. The form and report templates are customizable to streamline the reporting process.

To access the Quick Report feature, select the Report button in the main toolbar.
Note: The Report button must be configured as “Quick Report” or “Quick Report with Prompt.” To change its configuration, right-click the button and select a configuration option. The prompt option includes a form submission prior to generating the report.
Customizing Quick Report Templates
Step 1
In the PC’s local drive, navigate to C:VibrationVIEWTemplatesShockQuickReports. If creating a report for a different test mode, select the sine, random, etc., folder instead.
Note: The C: drive is the default location for VibrationVIEW data, reports, etc. Folder locations are defined under Configuration > Directories.
Locate the Quick Report .htm and .rtf files. The .htm file is the form, and the .rtf file is the associated report (Figure 1).
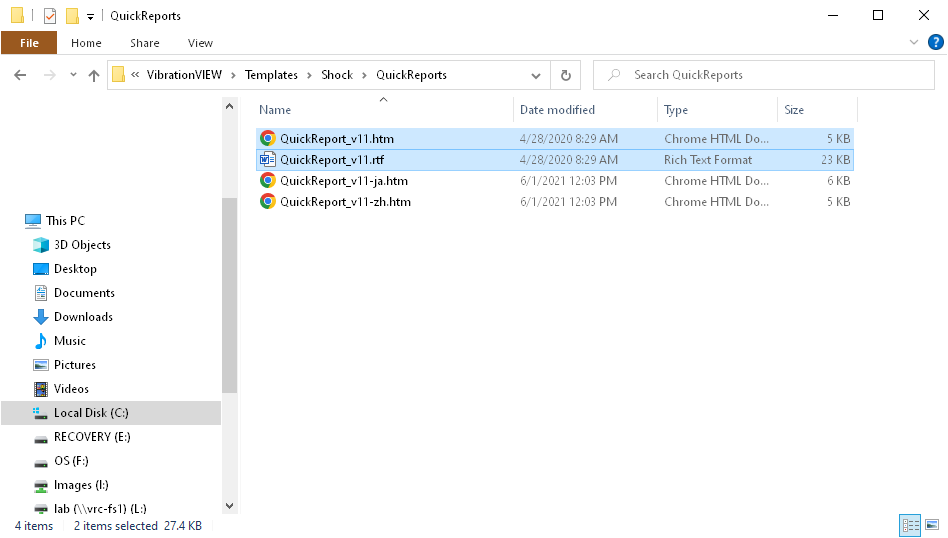
Figure 1. Quick Report files on the PC’s local drive.
Step 2
Right-click on the .htm file and select Open with > Notepad to edit the current form template (Figure 2).
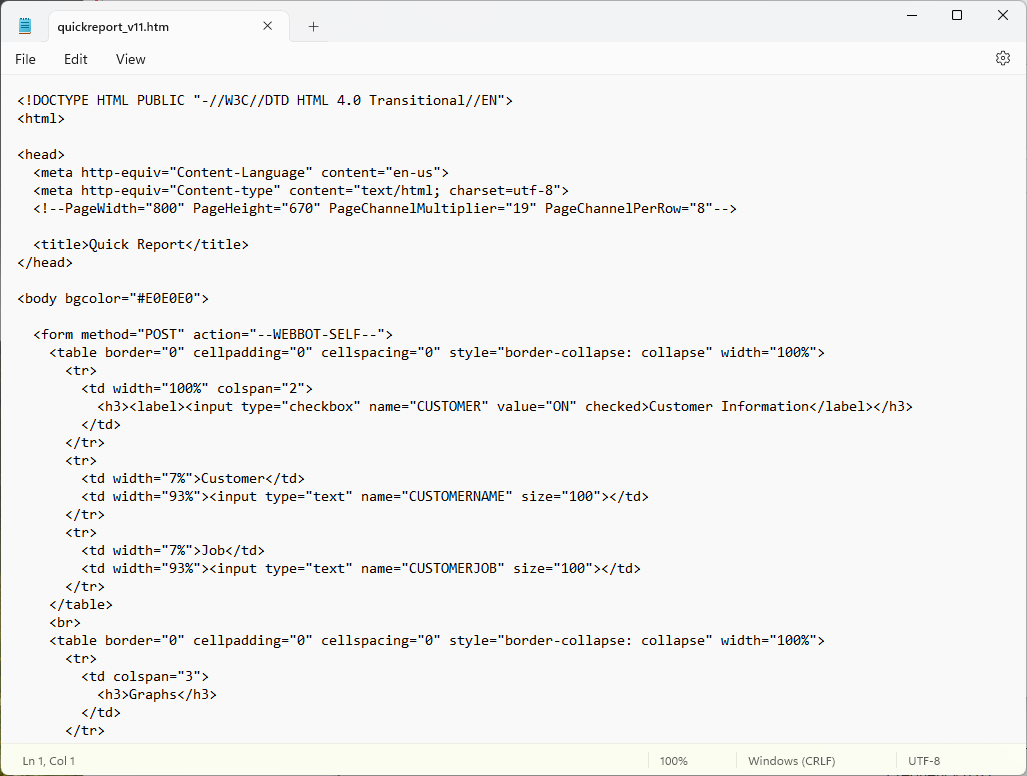
Figure 2. The Quick Report .htm file in the Notepad program.
Step 3
Select File > Save As and rename the file to the same name as the test profile. This change will instruct the Quick Report feature to use the custom report form for the test profile.
Step 4
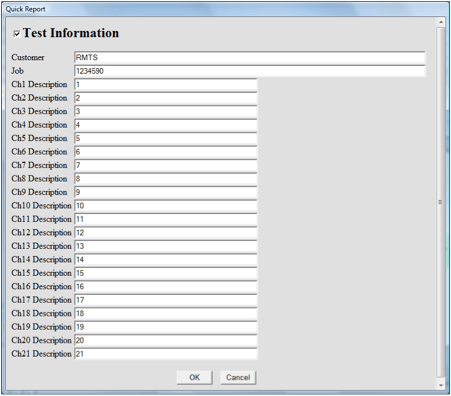
Edit the .htm file to include the desired changes. In this example, the customer needs to include the accelerometer location for each of the 21 channels. They can add a entry field for a description of each channel to the form and include a default value for each.
Make sure to change the name of the .rtf Quick Report template file to the correct file name at the bottom of the .htm file (Figure 3). For example: <input type=”hidden” name=”TEMPLATE” value=”QuickReportsExampleCustomer_ShockReport.rtf”>.
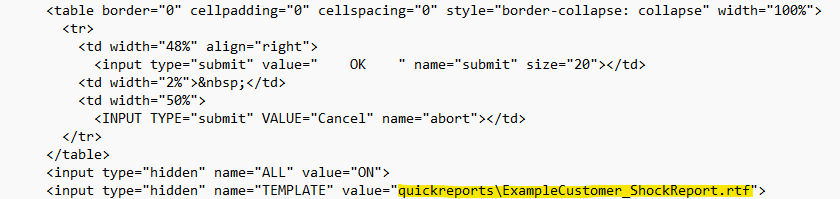
Figure 3. The line in the .htm code for the .rtf file name.
Step 5
Save the changes to the custom .htm file.
Step 6
Under C:VibrationVIEWTemplatesShockQuickReports double-click the file QuickReport.rtf.
Step 7
Select File > Save As and rename the file the same name as the .htm file in Step 4. Make sure to save this file as a .rtf file.
Step 8
Edit the custom report template. For more information on the PARAM and FORM field information, visit this video or navigate to the VibrationVIEW Help file and select Reports and Forms. Make sure to use the same naming scheme as the .htm file to recall the correct data.
In this example, the customer needs to highlight the run name. They can add the parameter [PARAM:RunName] and highlight the text in the program. Within the document, they can create a section for each channel that includes a graph, the accelerometer location from the form, the test schedule details, and the accelerometer calibration details.
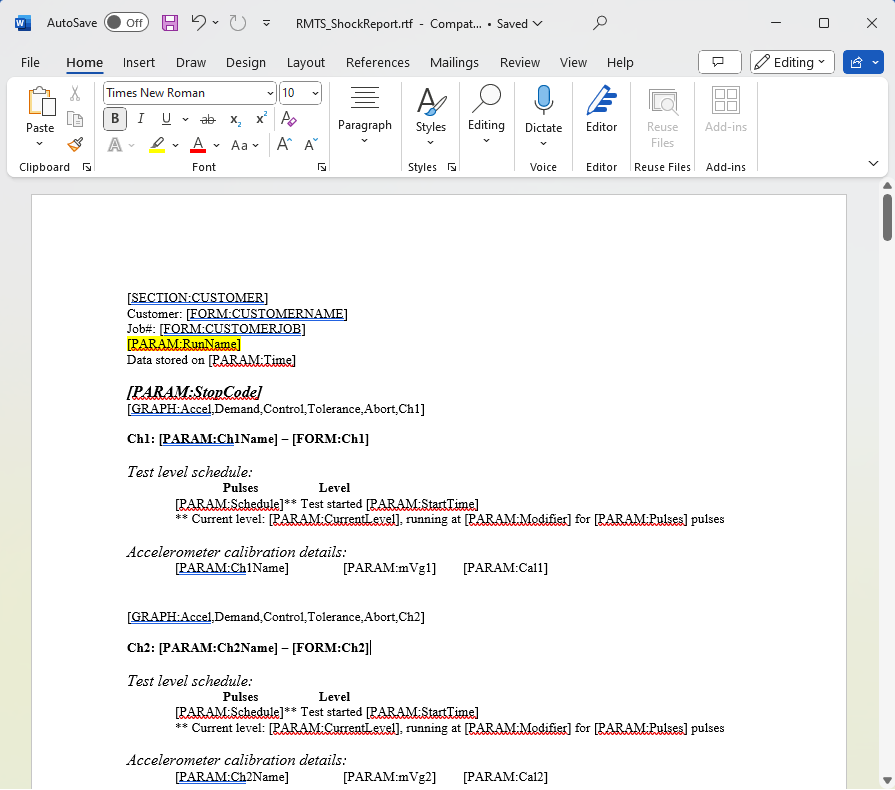
Figure 4. A custom report template for the test profile ExampleCustomer_ShockReport.
Step 9
Save the new .rtf file.
Step 10
Close the .rtf and .htm files.
Testing The Solution
Step 1
Open a test data file related to the new Quick Report form and report.
Step 2
Select Report and fill out the new form. Select OK.
Step 3
A report should appear with the custom report template that incorporates the information entered in the form.