The VR Mobile application includes a triggering function that allows for the autonomous acquisition of data with the ObserVR1000. In VR Mobile, the engineer can set up actions to occur automatically following an event. After the engineer creates a trigger, the ObserVR1000 will record data without intervention. This feature saves time and ensures accuracy and consistency during recording.
In VR Mobile, the events that can be selected to trigger action are:
- Device Startup
- Analog Input
- Digital Input
- Recording State
- Power State
- Time of Day
The actions that can be selected to follow an event are:
- Start Recording
- Record for Duration
- Stop Recording
- Toggle Recording
- Digital Output ON (send a digital signal)
- Digital Output OFF (stop sending a digital signal)
- Delay for Duration
- Shutdown Device
How to Create a Trigger in VR Mobile
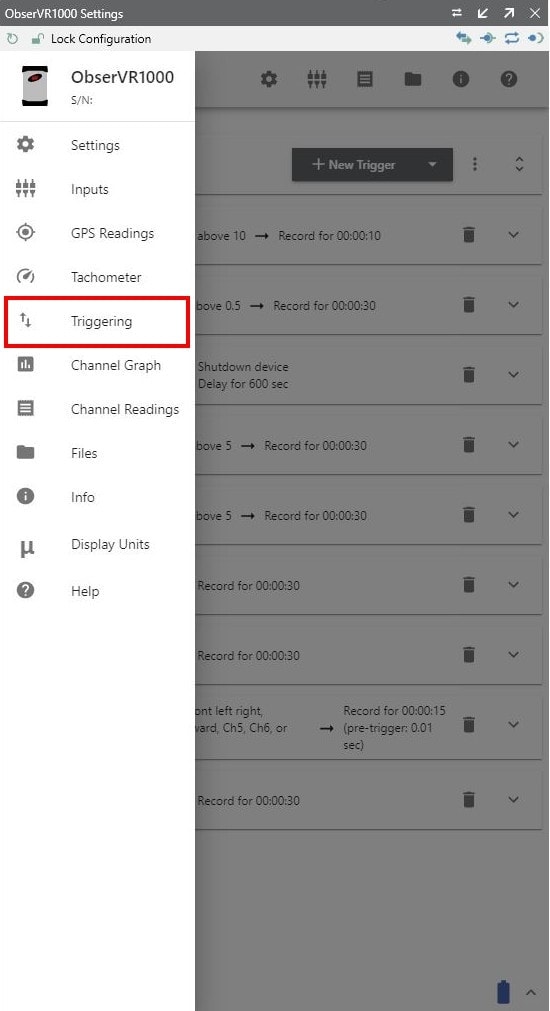
In VR Mobile, users can define custom triggering behaviors in response to certain system events.
To access the Triggering feature, point to the ObserVR1000 Settings, select the three-line menu icon > Triggering. To create a new trigger, select the New Trigger button. The arrow button to the right displays the most common use case examples.
A single trigger can execute one or more actions in response to one or multiple events. Multiple triggers can exist independently from one another. Individual triggers must be enabled to be active and can be individually enabled/disabled. To enable/disable all triggers in the system, use the Enable toggle switch in the top bar.
For multiple events, the software only executes the action(s) when all events are met. For example, if a trigger is configured for the events “Online Power” and “Recording Started,” then the action(s) will only be executed when a recording is running and the device is plugged in.
To set up an “or” function for multiple events, the engineer can create multiple triggers to trigger an action in response to any one of the events.
Multiple actions for a trigger will run in order from top to bottom. The software will complete each action before proceeding to the next. The engineer can also set a delay in between actions. For example, a three-step action list of “Digital Output On – Pin 2,” “Delay for Duration – 10 sec,” and “Digital Output Off – Pin 2” will turn digital output pin #2 on for 10 seconds, and then turn it off.
Industry Applications
Engineers can pair an event with an action in a multitude of ways. Below, we’ve provided several useful pairings of triggering events and actions for recording with the ObserVR1000.
Event: Device Start-up
Actions: Start recording and record for duration
Trigger the start of a recording after device startup and skip the extra step of starting the recording in VR Mobile after turning the device on. Create a second Record for Duration action to set the length of the recording.
Action: Delay for duration
Set a buffer between the device start-up and the start of the recording.
APPLICATIONS:
- Packaging industry: The ObserVR1000 is placed in/attached to a package and turned on before loading the package onto a truck bed. A buffer can save data space and omit data while the package is situated for a transport packaging test.
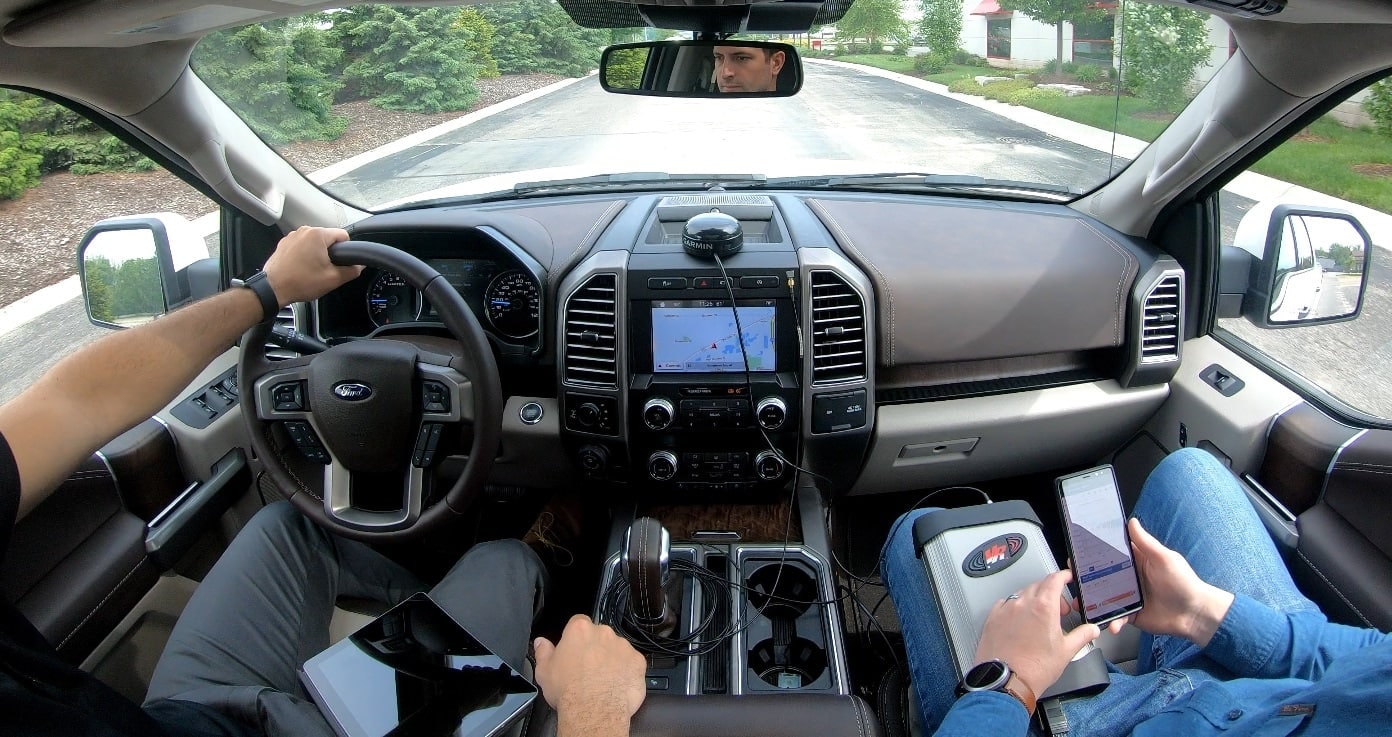
- Automotive industry: The ObserVR1000 is set up in a test vehicle and is turned on. A buffer can save data space and omit data during vehicle startup and until the test drive begins.
Event: Analog Input
The Analog Input event defines a triggering event based on the measured values of a specified input channel. If multiple channels are selected for a single event, and the threshold value on one channel is exceeded, the event will be triggered.
The Analog Input event is based on peak measurement and is useful when the engineer only wants to record extreme conditions. It is also beneficial in situations when an event may or may not occur.
Action: Start recording and record for duration to record a transient event
To record a transient event, select the Analog Input event and set the input channel(s) and triggering threshold level. To record data 5 seconds before and after the event, set the Record for Duration action with a total recording duration of 10 seconds and a pre-trigger of 5 seconds.
APPLICATIONS:
- Seismic/earthquake testing: Record the effect of a seismic event on a structure, including foreshock and aftershock.
- Aerospace industry: Record the effect of takeoff, landing, and moderate to extreme turbulence on a component of an aircraft.

Action: Start recording to create an input threshold
In order to save processing time, the user can create an input threshold for recording. Any acceleration below the threshold level will not be recorded.
APPLICATIONS:
- Automotive industry: During a road test, only record data in the event of poor road conditions.
- Aerospace industry: During a flight, only record data in the event of turbulence or other irregular motion.
Action: Start recording following the detection of analog input
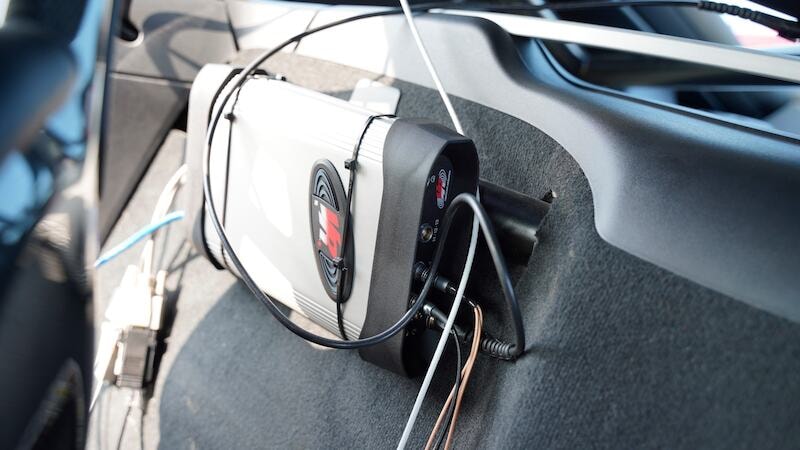
Trigger the start of a recording following the detection of analog input. The ObserVR1000 front panel has 16 input channel connections that support various analog input devices including IEPE and smart transducers (TEDS).
Actions: Toggle recording following analog input and then stop recording
Upon detection of analog input, toggle the recording on and off throughout the duration of the recording.
APPLICATIONS:
- Testing labs: Diagnose the noise/vibration of a device under test by sampling several sets of data.
- Automotive industry: Record several samples of data at different points of a road test where the road conditions are consistent throughout the recording.
Action: Delay for duration
The Delay for Duration action is beneficial when a recording should not begin upon installation of a sensor but shortly after.
Event: Digital Input
Action: Toggle recording following a digital input
An external button press can be detected as a Digital Input event type with a High or Low state. Configure the associated action as Toggle Recording.
Event: Recording State
Action: Turn a digital output ON following recording state
The Digital Output action sends an output signal from the ObserVR1000 to some external equipment and can be beneficial for test monitoring. Following the start of a recording, send a digital signal to drive external equipment.
APPLICATIONS:
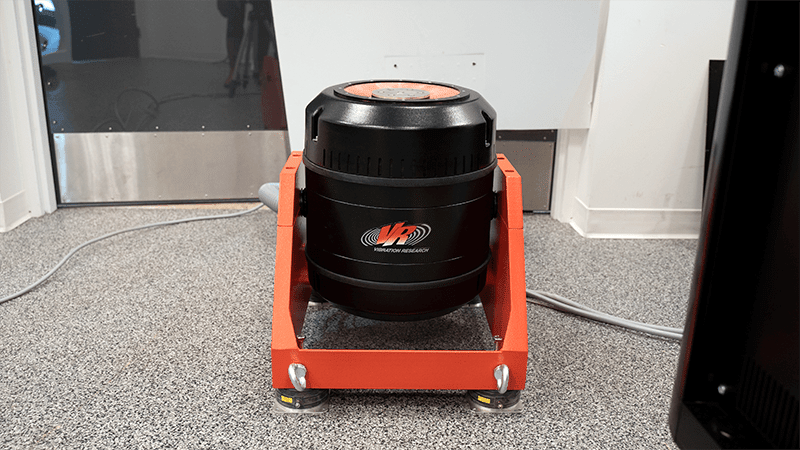
- When used as a vibration controller, sync the start of an ObserVR1000 recording with the control of a shaker.
- For remote testing, send a digital signal to a verification light to signal the start of the recording to the remote team.
Actions: Delay for duration and shutdown device
Following the start of a recording, delay the recording and then shut down the device when the required amount of data is collected.
Event: Power State
For the ObserVR1000, the Power State can be online power from a charger or battery power.
Actions: Begin recording and stop recording
The controller can be configured to turn on and start recording when external power is present and stop recording and shut down when external power is removed.
Event: Time of Day
Actions: Start recording and stop recording
Collect data at a specific time(s) to record a time-sensitive occurrence or perform a maintenance check.
APPLICATIONS:
- Diagnose a failure that occurs only at a specific time of day.
- Record the vibration of a structure with higher traffic/noise at different times of the day.

Action: Shutdown device
Shut down the ObserVR1000 outside testing hours to save battery life and omit stagnant data.
Download ObserVIEW
Interested in seeing how triggering would apply to your vibration testing? Contact one of our sales representatives today!